Mastering Time-Lapse: How to Make Timelapse from Video
Time-lapse photography is a stunning technique that allows creators to capture moments over time and condense them into a brief, engaging presentation. This art form is increasingly popular in many domains, including photography stores & services, real estate photography, and for photographers who strive to showcase their skills.
The Allure of Time-Lapse Photography
The appeal of time-lapse photography lies in its ability to transform the mundane into the extraordinary. Everyday scenes—such as clouds drifting across the sky, flowers blooming, or bustling city streets—become captivating visual narratives when viewed in fast motion. By knowing how to make timelapse from video, you can offer unique perspectives in your photography portfolio and stand out in the competitive field of visual arts.
Understanding the Basics of Time-Lapse Photography
Before diving into creating a time-lapse video, it is essential to understand the basic principles involved. Here are some critical components:
- Frame Rate: The number of frames captured per second affects how smooth the final video appears.
- Interval: This refers to how often a frame is captured, which can range from a few seconds to several minutes depending on the motion speed that you wish to convey.
- Duration: Decide how long you want the final sequence to be, which will determine the total number of frames required.
Preparing Your Equipment
To make timelapse from video successfully, proper equipment is necessary. Here’s a breakdown of what you need:
Camera
Your choice of camera can significantly impact the quality of the time-lapse. Options include:
- Digital SLRs (DSLRs)
- Mirrorless cameras
- High-end smartphones
Each type has its strengths, but DSLRs and mirrorless cameras generally provide superior control and image quality.
Stabilization Tools
Keeping your camera stable is essential for achieving a professional look in your time-lapse videos. Consider using:
- Tripods: A sturdy tripod is essential for minimizing motion.
- Gimbals: For additional stabilization, especially in moving shots.
Choosing Your Subject
Your choice of subject is paramount when planning a time-lapse. Here are some popular themes:
- Nature Scenes: Capture the beauty of sunsets, blooming flowers, and moving clouds.
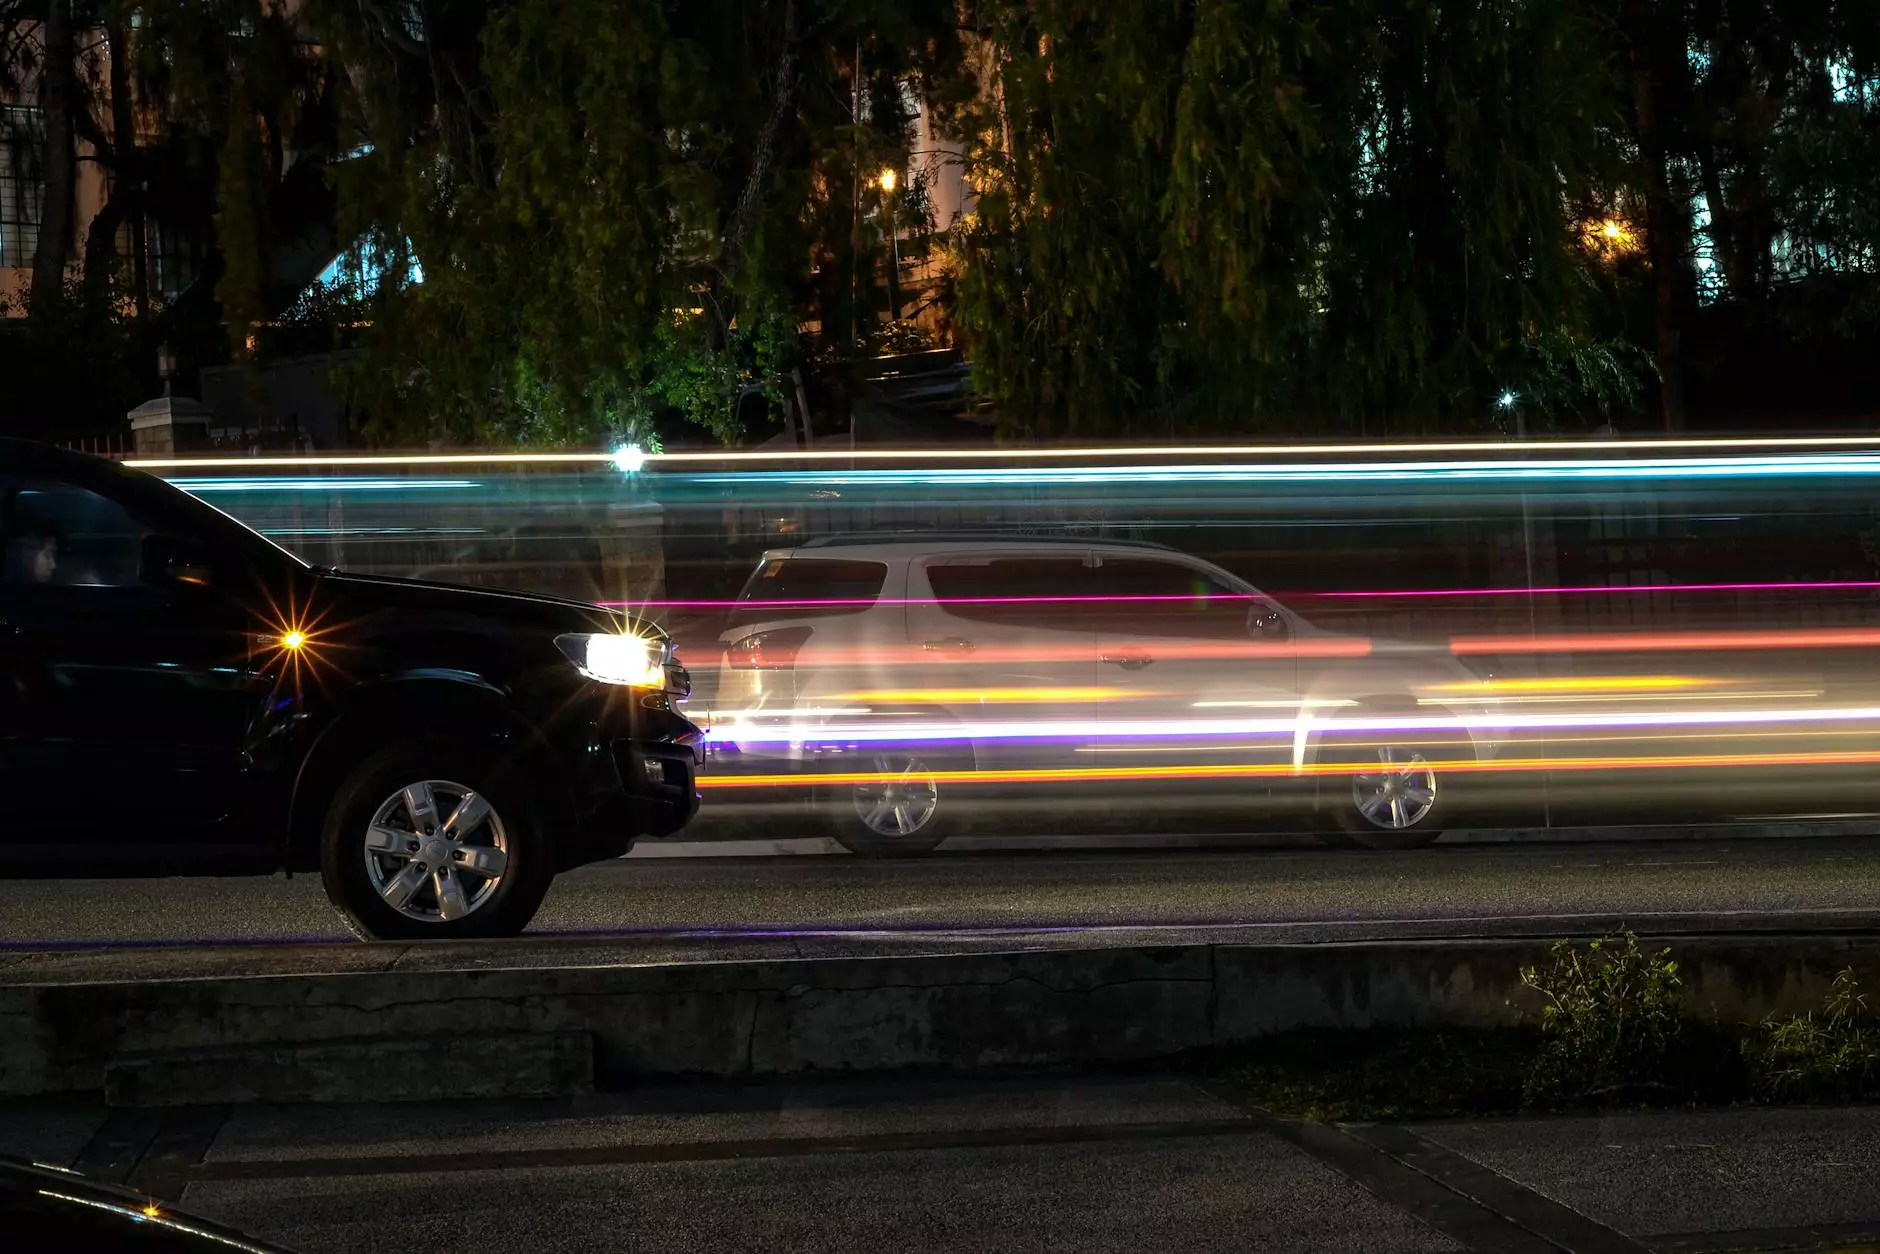
- Urban Landscapes: Show the energy of city life, from traffic flow to time passing in public spaces.
- Construction Projects: Document the progress of building projects over time.
How to Make Timelapse from Video: Step-By-Step Guide
Now, let’s delve into the detailed steps on how to create stunning time-lapse videos from your footage.
Step 1: Shoot Your Video
When recording your scene, remember these tips:
- Record in a high resolution, if possible.
- Select a fixed viewpoint to maintain consistency.
- Keep recording for longer periods; this will provide plenty of footage to work with.
Step 2: Import Your Video into Editing Software
Once you have your footage, the next step is to import it into video editing software. Popular options include:
- Adobe Premiere Pro
- Final Cut Pro
- iMovie
- DaVinci Resolve
These platforms allow you to manipulate the footage efficiently.
Step 3: Adjust the Speed
In your editing software, adjust the playback speed of your video to achieve the time-lapse effect. Most programs have a simple speed control feature, which lets you speed up the video by a certain percentage. Here’s how:
- Select your video clip in the timeline.
- Find the speed/duration option in the settings menu.
- Increase the speed to your desired effect (e.g., 300%, 400%).
- Preview the playback to ensure it meets your expectations.
Step 4: Add Sound and Effects
Adding sound or background music can enhance the viewer's experience. Ensure the sound aligns well with your footage. You may also explore adding fade-ins, transitions, or color corrections as needed.
Step 5: Export Your Video
Once satisfied with your time-lapse video, it’s time to export. Choose the appropriate settings for the platform where you intend to share your video. It is advisable to export in high definition for best results.
Tips for Creating Eye-Catching Time-Lapse Videos
To further enhance your time-lapse creations, consider these additional tips:
Play with Angles
Experimenting with different camera angles can dramatically change the final product. A unique perspective can captivate your audience.
Utilize Time-Lapse Apps
Several mobile apps facilitate quick time-lapse creation directly from your smartphone. Explore options like:
- Lapse It
- Framelapse
- TimeLapse
The Business Advantage of Time-Lapse Photography
Incorporating time-lapse photography into your services can provide a strong competitive edge. As a photography business, showcasing your ability to create time-lapse videos can attract more clients, particularly in domains like real estate and event documentation.
Real Estate Photography
For real estate agents, using time-lapse videos to showcase property developments allows prospective buyers to visualize the growth and changes within a location. It adds a dynamic element to static images, helping properties stand out online.
Event Photography
For photographers working in events, capturing highlights through time-lapse can deliver a thrilling recap of the day’s activities. From weddings to corporate events, clients appreciate the energy encapsulated in these quick reels.
Conclusion
Knowing how to make timelapse from video is an invaluable skill for any photographer. It allows for creative expression through unique storytelling methods and enhances the appeal of your portfolio. Bonomotion is committed to helping you explore the vast world of photography, including innovative techniques like time-lapse. By embracing this art form, you can captivate audiences and set your work apart in a crowded market.
Ready to elevate your photography skills? Start practicing time-lapse today and watch your creativity flourish!